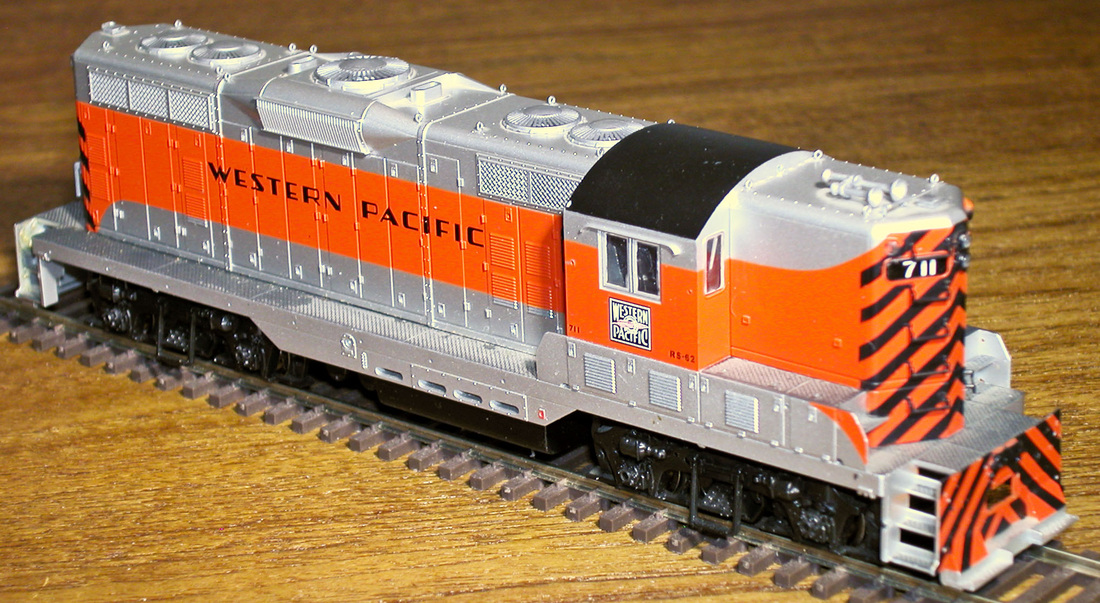
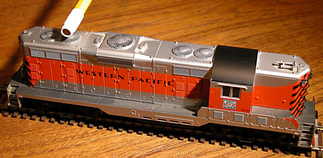
The Challenge
Narrow hood loco models with heavy metal castings are difficult candidates for battery power and radio control. This Life-Like Models GP9 is a classic example. It's assembly is simple; basically three sub-assemblies held together by a few screws. Remove couplers, undo 2 screws and the plastic shell lifts off in one piece. Undo 4 more screws and a large die-cast molding lifts off the chassis. This metal casting is designed to fill available space and maximize loco weight. Fortunately, it's robust and nothing is directly attached, so there is minimal risk to removing metal from top of the casting to create space flush against the roof of the engine hood. The objective is to remove a little metal as possible so as retain enough weight for reasonable traction.
A non-sound decoder will be used for this installation, although a sound decoder could be used if more metal is removed to make space for a speaker. However, further reduction of weight is not desirable unless sound is a high priority.
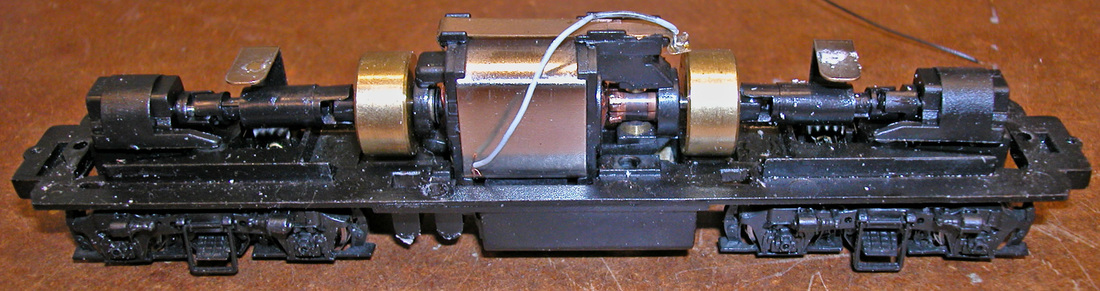
The Chassis
This is all neat and tidy. No work is required except replacing motor and track power connections with more flexible wires that are less likely to fatigue and break as I struggle with reassembly.
Installation
Carving (machining) a flat top surface on the metal casting creates space and provides a convenient mounting for battery power and radio control components. Electrical insulating tape is used between components and bare metal as well as holding everything in place. Since the metal casting is a snug fit in the body shell, there is no room for wires between the casting and sides of the body housing. The only space for wiring is between top of components and hood roof.
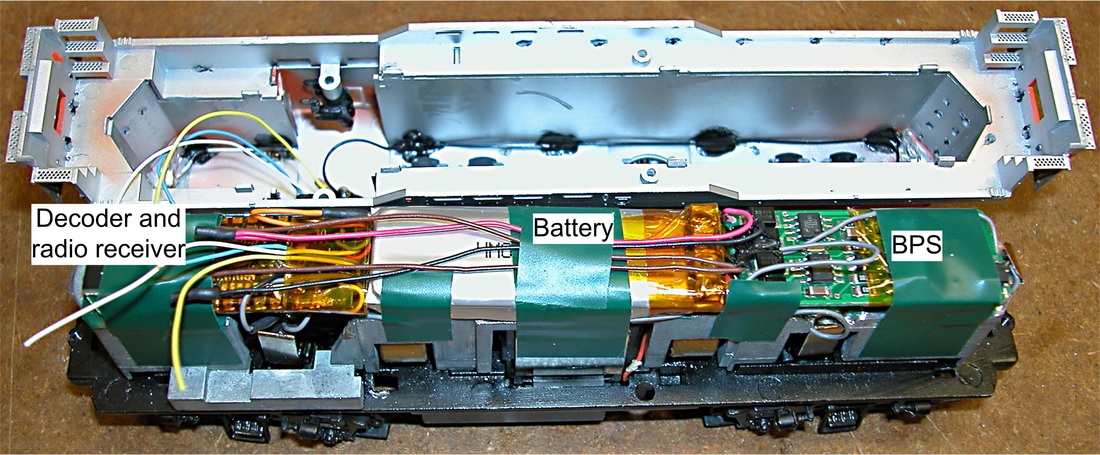
This photo shows arrangement of components with wiring complete except for front and rear lights (white, yellow and blue leads). LEDs with series resistors are already mounted in the body shell. With so much metal, I was concerned about radio reception and mounted the radio receiver with antenna at front of the loco above the driver's cab. The battery is above the motor and battery power supply at the rear of the loco. The narrow hood limits battery choice to 550 mAh storage, smaller than I would prefer, but probably adequate given the motor's low power consumption and the fact that most of the owner's layout is powered. The BPS has also been trimmed by removing wire stress relief holes and eliminating the battery plug and socket by wiring directly to BPS terminals.
Lights
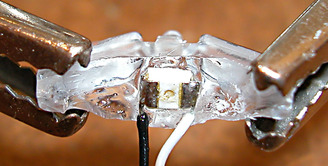
It has become common practice for manufacturers to use clear plastic light diffusers or light pipes for loco lights. To save space, I use a tiny surface mount LED glued directly to the diffuser or light pipe with clear epoxy cement. I also use warm white LEDs instead of the more readily available blue-white LEDs that are totally unrealistic representations of loco lights. With a 12 volt supply, I use a 4.7 K-ohm series resistor, which means the LED current is about 2 mA.
 |  |
Battery On/Off Switching
The battery turns on and stays on when track power is detected. A magnet (mounted on a pencil) and two magnetic sensors are used to manually turn battery power on and off. Since a sensor's activation range is about half an inch, (I aim for about 0.375" to make sure switching is reliable), it should be mounted as close as possible to top or side of the loco shell. The "on" sensor is already included on the BPS circuit board. I generally mount the "off" sensor on or near the radio receiver because the radio antenna is best located as far away from the motor as possible. This same precaution applies to the sensor because the motor's magnetic field will falsely activate the sensor.
 Battery On | 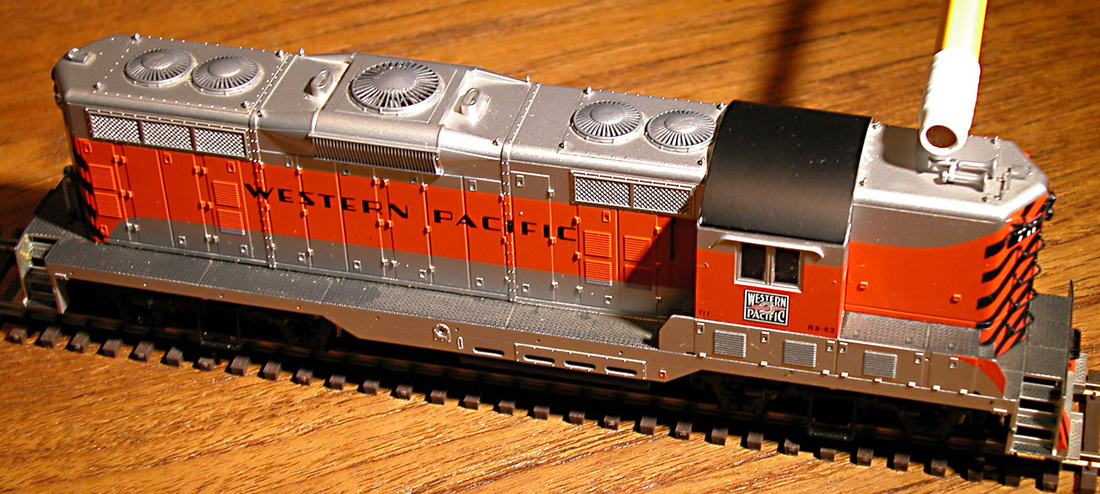 Battery Off |